You also could use raylib:
Here is a simple example code you could start with and adapt to your needs:
var x: i32 = 0;
var y: i32 = 0;

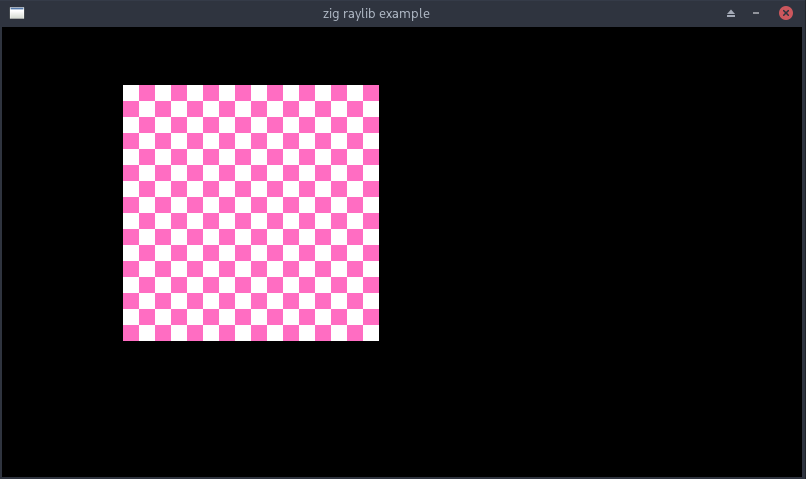
const image = ray.GenImageChecked(256, 256, 16, 16, ray.WHITE, ray.PINK);
defer ray.UnloadImage(image);

const texture = ray.LoadTextureFromImage(image);
defer ray.UnloadTexture(texture);
ray.SetTextureFilter(texture, ray.TEXTURE_FILTER_POINT); // for crisp pixel rendering

// to update the texture after the image was changed / updated
// ray.UpdateTexture(texture, image.data);

// see the cheatsheet for more infos:
// https://www.raylib.com/cheatsheet/cheatsheet.html
// and examples for how to do specific things:
// https://www.raylib.com/examples.html

while (!ray.WindowShouldClose()) {
    if (ray.IsKeyDown(ray.KEY_LEFT)) x -= 1;
    if (ray.IsKeyDown(ray.KEY_RIGHT)) x += 1;
    if (ray.IsKeyDown(ray.KEY_UP)) y -= 1;
    if (ray.IsKeyDown(ray.KEY_DOWN)) y += 1;

    {
        ray.BeginDrawing();
        defer ray.EndDrawing();

        ray.ClearBackground(ray.BLACK);

        ray.DrawTexture(texture, x, y, ray.WHITE);
    }
}
If you clone the repo above and replace the main loop with the example you would get something like this:
If you want to use a ui you could try the raygui branch.
