Currently I am testing some 2d game-mechanics. The mechanics can be ok, but they have to pixel-precise match the animations images defs etc.
Does anyone know how I can quickly setup a test-environment to visually check frame by frame what happens? Just blitting an RGBA array.
(I am working on windows)
The quickest and dirtyiest way would be to output a BMP file. It’s pretty much just a simple header and then the data.
If you want to do it in your own program, you can just open a window and call the normal win32 rendering functions. If I remember correctly, you simply start the drawing with BeginPaint, then just copy the data with StretchDIBits, then EndPaint.
You could also go with a simple GUI library. ImGUI is pretty cool and simple, but there might some that are even simpler.
I know StretchDiBits. It does not need a handle. The problem is the window itself and a keyboard. I’ll check out if there is some raw setup for windows.
And have a look at lmGUI
If you want to stay in raw windows you can @cInclude windows.h or use a library like GitHub - marlersoft/zigwin32: Zig bindings for Win32 generated by https://github.com/marlersoft/zigwin32gen .
Examples are here: zigwin32gen/examples/helloworld-window.zig at main · marlersoft/zigwin32gen · GitHub
You can still choose how much you want to use zig-idioms to create the window, but I pretty much just wrote it in C-style copying the msdn examples.
Aha. It is just for visual testing. Will have a look there as well…
Then I have to agree with Lucas, just write a bpm or ppm to a file and view it with an image viewer like irfanview on windows.
That will create thousands of 1 MB bitmaps. And it is not possible to really ‘view’ the transitions.
I think you can go quick and dirty with SDL2, just blitting RGBA texture is a matter of few lines of code
You also could use raylib:
Here is a simple example code you could start with and adapt to your needs:
var x: i32 = 0;
var y: i32 = 0;

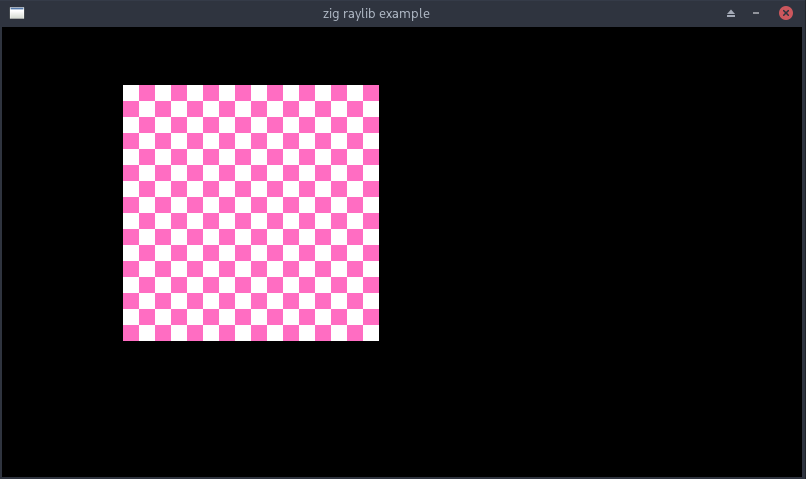
const image = ray.GenImageChecked(256, 256, 16, 16, ray.WHITE, ray.PINK);
defer ray.UnloadImage(image);

const texture = ray.LoadTextureFromImage(image);
defer ray.UnloadTexture(texture);
ray.SetTextureFilter(texture, ray.TEXTURE_FILTER_POINT); // for crisp pixel rendering

// to update the texture after the image was changed / updated
// ray.UpdateTexture(texture, image.data);

// see the cheatsheet for more infos:
// https://www.raylib.com/cheatsheet/cheatsheet.html
// and examples for how to do specific things:
// https://www.raylib.com/examples.html

while (!ray.WindowShouldClose()) {
    if (ray.IsKeyDown(ray.KEY_LEFT)) x -= 1;
    if (ray.IsKeyDown(ray.KEY_RIGHT)) x += 1;
    if (ray.IsKeyDown(ray.KEY_UP)) y -= 1;
    if (ray.IsKeyDown(ray.KEY_DOWN)) y += 1;

    {
        ray.BeginDrawing();
        defer ray.EndDrawing();

        ray.ClearBackground(ray.BLACK);

        ray.DrawTexture(texture, x, y, ray.WHITE);
    }
}
If you clone the repo above and replace the main loop with the example you would get something like this:
If you want to use a ui you could try the raygui branch.
